Adding toolbar to Preference Activity
There are a lot of questions on StackOverflow about adding an ActionBar/Toolbar to the PreferenceActivity. However this task is quite easy in the newer versions of Android Studio.
I'm using Android Studio 1.4. When I create a new preference activity from the menu, Android Studio adds an extra abstract AppCompatPreferenceActivity class which extends PreferenceActivity. The SettingsActivity class I created from the menu extends the AppCompatPreferenceActivity class. This abstract class has a lot of useful methods that's missing in the PreferenceActivity class.
To add the toolbar, all I need to do is inflate the toolbar into the view and set it as the ActionBar by calling setSupportActionBar() or setActionBar() if you aren't using the AppCompat Toolbar.
Here's my toolbar.xml:
<?xml version="1.0" encoding="utf-8"?>
<android.support.v7.widget.Toolbar xmlns:android="http://schemas.android.com/apk/res/android"
    xmlns:local="http://schemas.android.com/apk/res-auto"
    xmlns:tools="http://schemas.android.com/tools"
    android:id="@+id/toolbar"
    android:layout_width="match_parent"
    android:layout_height="wrap_content"
    android:minHeight="?attr/actionBarSize"
    android:background="?attr/colorPrimary"
    android:elevation="@dimen/appbar_elevation"
    android:theme="@style/ThemeOverlay.AppCompat.Dark.ActionBar"
    android:popupTheme="@style/ThemeOverlay.AppCompat.Light" />
Adding the following lines of code at the beginning of the setupActionBar() will add the toolbar at runtime.
getLayoutInflater().inflate(R.layout.toolbar, (ViewGroup)findViewById(android.R.id.content));
        Toolbar toolbar = (Toolbar)findViewById(R.id.toolbar);
        setSupportActionBar(toolbar);
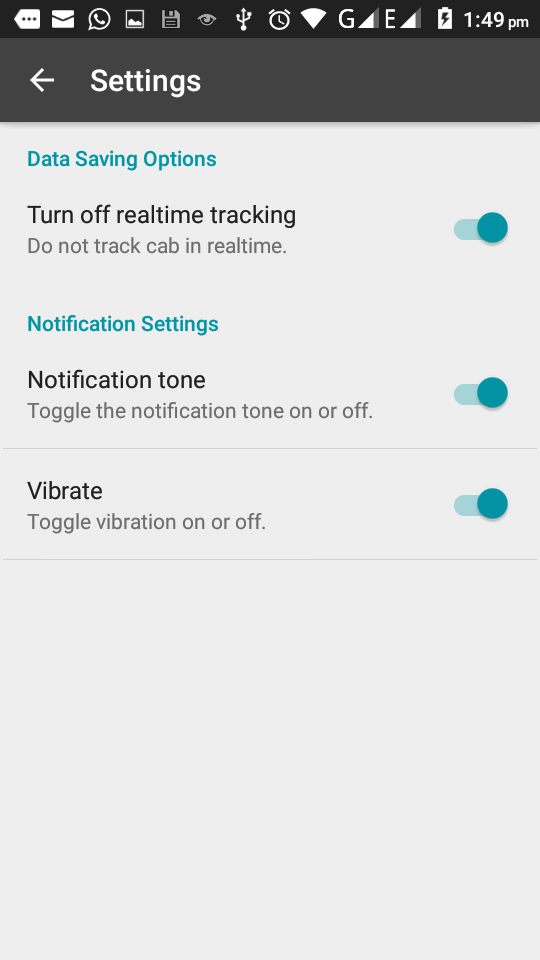
The toolbar now appears, but it overlaps the activity content:

This can be fixed by adding a padding to the listview. The listview can be accessed using the getListView() of the AppCompatPreferenceActivity.
Adding the following code will fix the issue:
int horizontalMargin = (int) TypedValue.applyDimension(TypedValue.COMPLEX_UNIT_DIP, 2, getResources().getDisplayMetrics());
int verticalMargin = (int) TypedValue.applyDimension(TypedValue.COMPLEX_UNIT_DIP, 2, getResources().getDisplayMetrics());
int topMargin = (int) TypedValue.applyDimension(TypedValue.COMPLEX_UNIT_DIP, (int) getResources().getDimension(R.dimen.activity_vertical_margin) + 30, getResources().getDisplayMetrics());
getListView().setPadding(horizontalMargin, topMargin, horizontalMargin, verticalMargin);
If you can't use Android Studio 1.4 for some reason, you may refer to the complete code on the gist here.
BTW, I've finally added comments to the blog. So yay!